Storing flour for the long haul is an essential skill for anyone looking to ensure a stable food supply. Flour, as a staple in baking and cooking, can be kept for extended periods if you handle it correctly. By securing your flour storage, you protect your supply from spoilage and from potential shortages or emergencies. Knowing the best way to store flour to prevent waste and keep it fresh for years, even decades, is important.
Choosing the right type of flour and storage method is crucial for long-term food storage. Whole grain flours with higher oil content may spoil faster, but with proper storage, you can still extend their shelf life.
Simple yet effective ways to preserve your flour’s quality over time include using airtight containers and ensuring a cool, dry environment. These methods help prevent moisture and pests, two of the biggest adversaries in flour storage.
Understanding Flour and Its Types

To store flour for the long haul, you need to know what you’re dealing with. There are various types of flour, each with distinct characteristics that affect storage life.
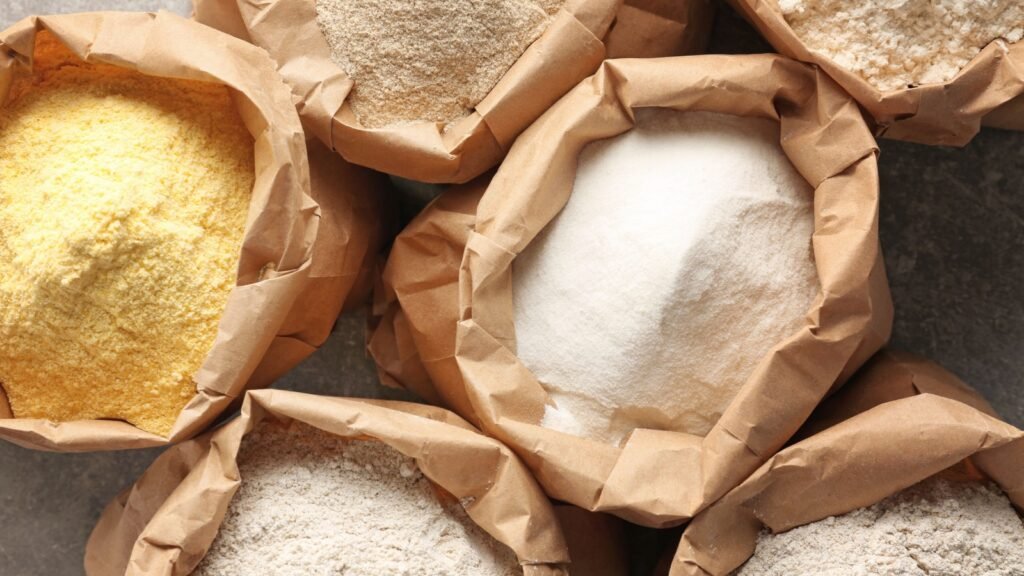
Flour is the result of grinding grains, most often wheat, to a fine powder. Its main component, gluten, gives dough its elasticity and strength. You’ll find a range of flours, like all-purpose flour, which is versatile for many recipes, and whole grain flour, which includes more of the grain’s components and nutrients. It is also important to use fresh flour for baking, as it does not have a distinct smell and ensures better results.
- All-Purpose Flour: Typically made from a blend of hard and soft wheat, it contains less protein than some other varieties, which makes it suitable for a wide range of baking.
- Whole Wheat Flour: Includes the bran, germ, and endosperm of the wheat grain, making it higher in nutrients but also more perishable.
- Whole Grain Flour: Made from milling the complete grain of wheat or other grains, this flour holds all the grain’s nutrients, flavor, and fiber.
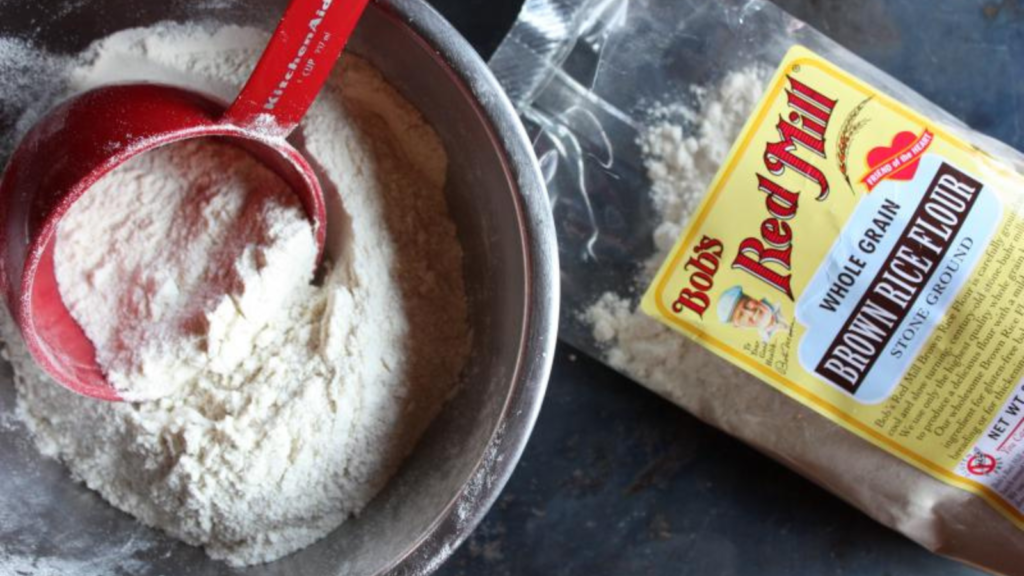
You’ll also encounter nut flours like almond or coconut flour. These have a much higher fat content, so are more challenging, but not impossible, to store. I make my own gluten free flour blend using potato starch, tapioca starch, and rice flour, and I store it in the same way as regular flour.
Differences Between White and Whole Wheat Flour
The main difference between white flour and whole wheat flour lies in the grain’s processing. White flour, often referred to as refined flour, is made by removing the bran and germ, leaving mostly the endosperm. This process extends its shelf life but strips away many nutrients. In contrast, whole wheat flour keeps the entire grain intact but, because it contains more oils, can go bad faster if not properly stored.
The Importance of Proper Storage

Storing flour properly for the long term requires attention to detail to maintain its quality and protect it from spoilage and pests. Key factors include controlling moisture and oxygen levels, and preventing access by bugs and other contaminants.
Effects of Improper Storage on Flour Quality
Flour is sensitive to environmental factors; exposure to moisture and oxygen can degrade its quality. It needs a moisture level of below 12% and minimal oxygen to reduce the risk of oxidation. Improper storage can lead to spoilage, characterized by a rancid odor and a sour taste. Flour that absorbs moisture can become clumpy and unusable. Oxygen exposure accelerates oxidation, causing the natural oils in whole grain flours to turn rancid, affecting both taste and nutritional value.
Risks of Contamination and Infestation
Ignoring proper storage invites risks such as contamination and infestation. Contaminants like weevils and their larvae can infiltrate flour bags, multiply, and consume the flour. These pests, along with other bugs, thrive in environments lacking in storage hygiene.
How to Store Flour Long Term

There are many ways you can store flour over the long-term, including using an airtight container to maintain its freshness and prevent it from getting stale or absorbing undesirable odors. While I do keep some flour frozen, I also like to dehydrate and vacuum seal, knowing that in a crisis, I may not have access to enough power to keep my freezers running.
Freezing Flour for Longevity
Freezing is an effective method to extend the shelf life of flour stored properly. Here’s how to do it:
- Preparation: Place the flour in airtight containers or heavy-duty freezer bags to prevent freezer burn.
- Labeling: Write the date of freezing on the container to keep track of how long it has been stored.
- Freezing: Store the flour in the freezer at a consistent temperature.
This method can keep flour fresh for up to two years or more, especially if the temperature remains stable and moisture is kept out.
Dehydrating Flour
Dehydrating flour can help reduce moisture content, extending its shelf life.
- Spread Flour: Spread the flour evenly on a baking sheet or dehydrator tray covered in baking parchment.
- Low-Temperature Setting: Place the baking sheet in an oven set to the lowest temperature, ideally below 200°F (93°C). Ideally, put the tray in your dehydrator and set it to 100°F (45°C)
- Drying Time: Leave the flour in the oven for several hours until completely dry.
- Cooling and Storing: Allow the flour to cool before storing it in airtight containers.
Using Mason Jars
Mason jars are a traditional and effective way to store flour.
- Clean Jars: Ensure the jars are clean and completely dry.
- Filling: Fill the jars with flour, leaving about an inch of space at the top.
- Sealing: Use airtight lids to seal the jars.
- Storage: Store the jars in a cool, dry place away from direct sunlight.
For additional protection, consider using paper bags as an extra layer.
Mylar Bags with Oxygen Absorbers
Mylar bags, combined with oxygen absorbers, provide an excellent barrier against air and moisture.
- Filling Bags: Fill Mylar bags with flour.
- Adding Absorbers: Place oxygen absorbers in the bags to remove air and prevent oxidation.
- Sealing: Use a heat sealer to close the Mylar bags securely.
- Storage: Store the sealed bags in a cool, dry, and dark location.
Using Desiccants
Desiccants help control moisture levels, crucial for long-term flour storage.
- Container Preparation: Place desiccant packets at the bottom of your storage containers.
- Adding Flour: Fill the containers with flour, ensuring minimal air space.
- Sealing: Seal the containers tightly to prevent moisture from entering.
- Periodic Checks: Regularly check and replace desiccant packets to maintain effectiveness.
Vacuum Sealing
Vacuum sealing removes air, significantly extending the shelf life of flour.
- Preparation: Place the flour in vacuum seal bags.
- Sealing Process: Use a vacuum sealer to remove air from the bags and seal them tightly.
- Labeling: Label the bags with the date of sealing.
- Storage: Store the sealed bags in a cool, dry place.
Optimizing Storage Conditions

To keep flour fresh for decades, you need to control two main factors: temperature and humidity. Precise control over these conditions helps prevent spoilage and maintain the flour’s quality.
Temperature and Humidity Control
You should store your flour in a cool, dry place to protect it from the enemies of long-term storage: heat and moisture. Aim for a stable temperature between 50-70°F (10-21°C) and humidity levels below 60%. These conditions help prevent the growth of mold and insects, both of which can ruin flour.
Best Locations for Flour Storage
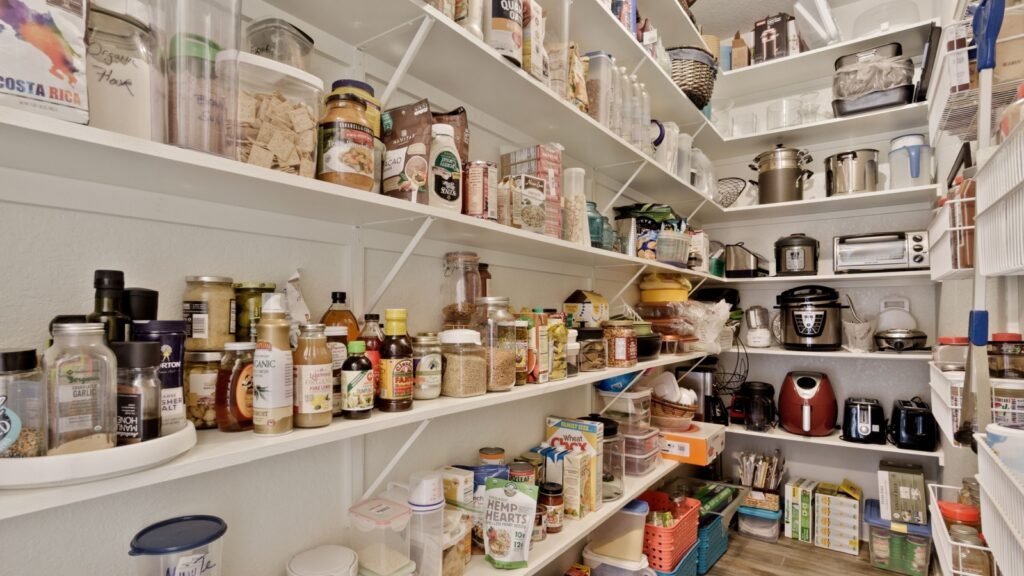
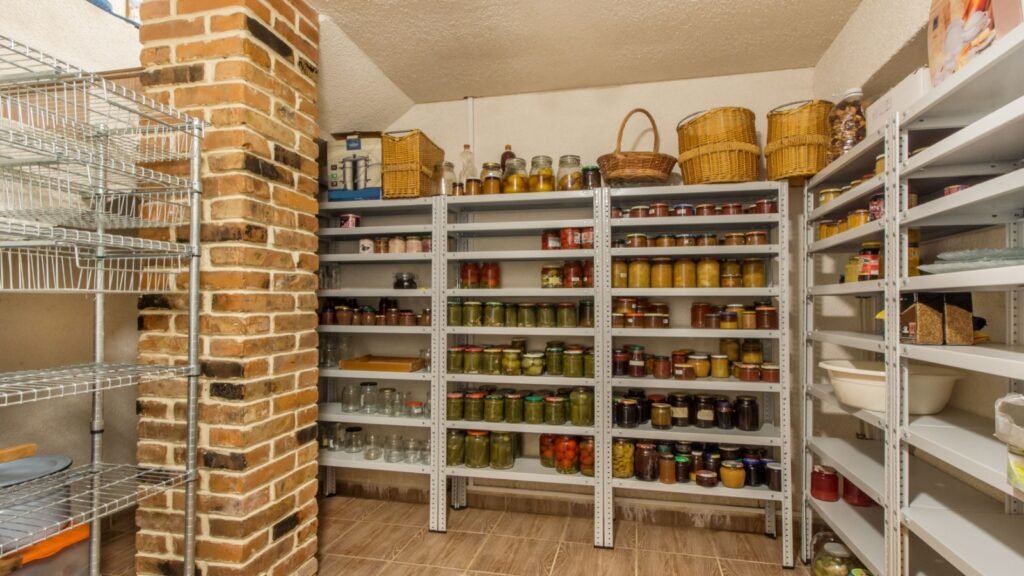
Ideal storage locations are a basement or a pantry that are not prone to temperature fluctuations or dampness. Ensure the areas are well-insulated and protected from direct sunlight. Basements, being naturally cooler, can be excellent choices, but check that they are also dry to keep the humidity around your flour low.
Using Preservatives and Insect Deterrents
To deter pests and extend the shelf life of flour, consider using natural preservatives. Adding a few bay leaves to the flour container can ward off insects due to the leaves’ natural repellent properties. Another non-toxic option is diatomaceous earth, which is a fine powder that can be mixed with the flour. Diatomaceous earth is effective because it dries out any insects and prevents infestations, ensuring your flour remains undisturbed and preserved in long-term storage. Remember to thoroughly mix a small quantity of diatomaceous earth into the flour so it’s evenly distributed.
Bulk-Buying Flour

By buying flour in large quantities, you can save money compared to purchasing smaller amounts. For example, a 50-pound bag of flour can cost considerably less per pound than buying multiple 5-pound bags. This bulk approach applies to other staples too, such as rice, beans, oats, nuts, and honey. If you’re looking to extend these savings, consider also bulk purchasing milk in the form of powder, which can be stored for long periods.
- Flour Cost Comparison:
- 5-pound bag: $3.00 (Cost per pound: $0.60)
- 50-pound bag: $15.00 (Cost per pound: $0.30)
In essence, you could potentially slash your expenses by half, affording your budget more room in other areas. This is especially beneficial during times of shortages or economic instability, where having a well-stocked pantry can save a trip to the store when prices are high.
Maintaining a Balanced Inventory
A key part of bulk storage is maintaining a balanced inventory. You’ll want to keep enough supply to last through extended periods, but not so much that items expire unused. A good rule of thumb for non-perishables like beans and oats is a rotating stock that lasts from 6 months to a year, depending on your household size. This way, you are prepared for unexpected events without the risk of waste.
- Inventory Tips:
- Record purchase dates and use a first-in, first-out system.
- Regularly check for signs of spoilage or infestation, which are potential risks even for dry goods.
- Keep a tally of your usage over several weeks to better predict your needs.
Remember, having an ample and well-managed supply of staples like flour and other dry goods is not just about convenience. It’s a strategic and economic choice that will serve you well regardless of what the future holds.
Additional Tips for Long-Term Flour Storage

When storing flour for an extended period, ensure your storage area is clean. This will help prevent attracting pests that can ruin your supply. Use airtight containers to protect the flour from moisture and pests. It is important to label each container with the type of flour and the date of storage.
For those who enjoy making oatmeal, pancakes, waffles, muffins, pasta, biscuits, or crackers regularly, rotating your stock is crucial. Use the oldest flour first and replenish with fresh supplies to maintain quality over time.
Consider where you store your flour. The location should be cool and dry. A kitchen pantry can be suitable, but avoid placing flour near appliances that give off heat. This could speed up the degradation process.
Finally, periodic checks are vital for long-term storage success. Inspect your flour every few months to catch any issues early. If you notice any off smells or discoloration, it’s time to use that flour or dispose of it to protect the rest of your supply.
Potential Health and Dietary Considerations

When storing flour long-term, it’s crucial to consider any dietary restrictions you may have, such as flour allergies, and the nutritional value different types of flour can provide.
Flour Allergies and Gluten-Free Alternatives
If you’re allergic to gluten—or have celiac disease—storing wheat flour isn’t a safe option for you. However, various gluten-free alternatives can last just as long when stored properly. These include flour made from rice, almond, and coconut. Remember that gluten-free flours sometimes require different storage methods to retain their freshness due to their unique compositions.
Prevention and Response to Infestations

Proper flour storage is essential to avoid the headache of infestations. By understanding how to detect bugs and what to do if weevils appear, you can keep your flour pristine for years.
Detecting and Handling Weevil Infestations
Weevils are a common pest in pantries and can infiltrate and lay larvae in flour bags. Check for bugs by spreading flour on a sheet of paper; living weevils will move and larvae are visible as small, white worms. If you spot an infestation, immediately discard the contaminated flour to prevent the weevils from spreading to other food items.
- Inspect new bags of flour for weevil presence before storing.
- Store flour in airtight containers and place in the fridge or freezer to further deter pests.
- Regularly clean pantry shelves to remove any residue that might attract bugs.
Natural Repellents and Chemical Treatments
Using natural repellents like bay leaves can discourage weevils from invading your flour supply. Place a few leaves in the flour canister, as their scent is known to repel these pests. On the chemical side, diatomaceous earth is a non-toxic powder that kills bugs but is safe for human consumption in food-grade form.
- Bay Leaves: Add 1-2 leaves to your flour storage container as a deterrent.
- Diatomaceous Earth: Sprinkle this around your pantry’s perimeter and in containers for a protective barrier.
Implementing these measures helps ensure that your flour remains fresh and bug-free for long-term storage, preserving both quality and peace of mind.
Comparing Traditional and Modern Storage Methods

When you’re looking to store flour long-term, you have to weigh the merits of traditional methods against the innovations of modern techniques. Traditional storage often relies on the pantry or basement to keep things cool and dry. The age-old approach would involve storing flour in tightly sealed containers, like glass jars or metal tins, keeping it away from direct light, which can degrade flour over time.
In contrast, modern techniques might embrace the use of Mylar bags with oxygen absorbers to extend the shelf life of flour significantly. These barriers block out light, moisture, and air—all enemies of flour longevity. An added advantage of this method is that it’s more adaptable to various environments and can be scaled up for larger quantities of flour.
Remember, the cooler the storage environment, the longer your flour can last. If you’re storing flour in your pantry, a traditional method might suffice for shorter periods; but for decades-long storage, placing flour in the freezer or implementing the Mylar bag technique could be beneficial.
You’ll want to be practical about your choice. If you’re prepping for future possibilities and aiming for maximum longevity, lean towards modern methods that can keep your flour viable for up to ten years. However, if you find comfort in the tried-and-tested, traditional storage can still be effective, especially if used in combination with some modern updates like a good sealant to ward off moisture. Choose what fits your lifestyle and preparedness goals best.
Frequently Asked Questions

When you’re planning to keep flour at its best for years or even decades, there are specific strategies you should employ. These FAQs address crucial storage tactics to maintain your flour’s quality over time.
What are the most effective containers for long-term flour storage?
The most effective containers are airtight, moisture-proof containers like Lock-Top Flour Containers. These keep flour dry and protected from odors and pests, which are indispensable qualities for long-term storage.
Can storing flour in the freezer significantly extend its shelf life?
Yes, storing flour in the freezer can extend its shelf life. All-purpose flour can last up to 2 years in the freezer compared to the 6-8 months it would last on the shelf.
What techniques can prevent bug infestations in stored flour?
To prevent bug infestations, seal flour in airtight containers and consider freezing your flour for 48 hours before moving it to storage. This kills any eggs that might be present and helps maintain purity.
What are the best practices for keeping flour fresh for several years?
The best practices include keeping flour in a cool, dark, and dry place, using oxygen absorbers in storage containers to remove moisture, and ensuring containers are properly sealed.
How can you stockpile flour to ensure maximum freshness over time?
To stockpile flour while ensuring freshness, date all containers, practice first in-first out rotation, and regularly inspect your flour stock for signs of spoilage or infestation.
Are there any particular methods for preserving wheat flour’s quality for two decades or more?
For preserving wheat flour long-term, consider vacuum sealing with oxygen absorbers or storing your flour in containers designed for long-term storage, coupled with desiccants to control moisture. Regular inspection and rotation of stock remain crucial.

