
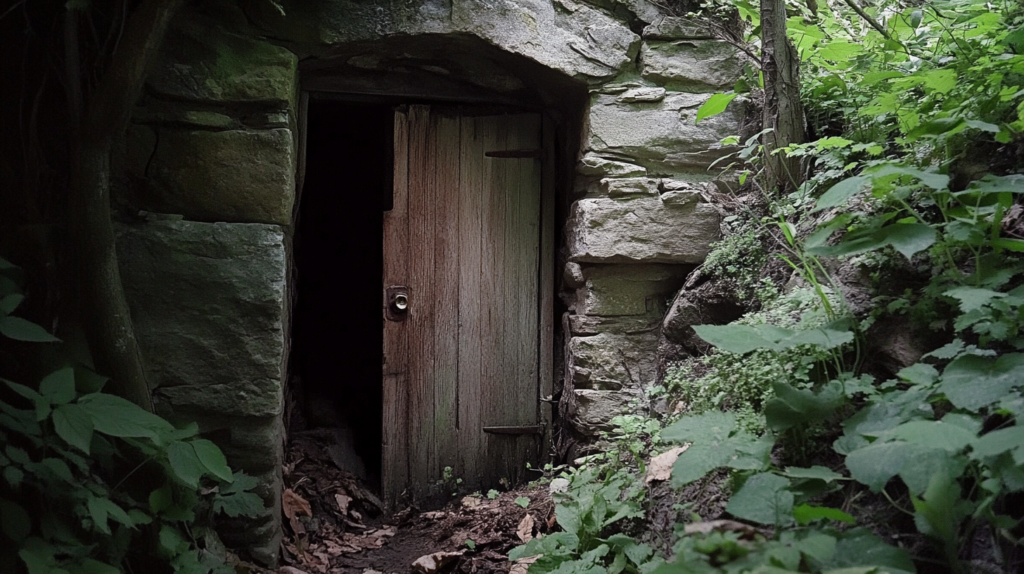
A root cellar is a game-changer for any homesteader serious about food self-sufficiency. It’s a natural way to store fruits, vegetables, and even cured meats without electricity. A well-built root cellar can keep your harvest fresh for months, sometimes even up to a year. Building one takes some effort, but the payoff in food security and reduced energy costs is huge. These tips will help you create an efficient root cellar that’ll keep your family fed through winter and beyond.
1. Choose the Right Location
Your root cellar’s location is crucial. Ideally, it should be on the north side of your property where it gets the least sun exposure. The ground should slope away from the cellar to prevent water from pooling. If you’re building into a hillside, that’s perfect. If not, you’ll need to create a mound. The goal is to use the earth’s natural cooling and insulating properties to your advantage.
2. Dig Deep for Temperature Stability

The deeper you go, the more stable the temperature. Aim for at least 10 feet below the frost line in your area. At this depth, the temperature stays around 50-55°F year-round in most regions. This is ideal for storing root vegetables, apples, and many other crops. If you can’t go that deep, you’ll need to add more insulation to compensate.
3. Ensure Proper Drainage

Water is the enemy of a root cellar. Install a perimeter drain around the cellar and slope the floor slightly towards a central drain. Use gravel under and around the cellar for additional drainage. A sump pump might be necessary in areas with a high water table. Good drainage not only prevents water damage but also helps control humidity.
4. Ventilate for Freshness

Proper ventilation is key to preventing mold and keeping produce fresh. Install two vents: an intake near the floor and an exhaust near the ceiling. This creates natural air circulation as cool air sinks and warm air rises. The vents should be about 4 inches in diameter for every 150 square feet of floor space. Make sure to screen the vents to keep out pests.
5. Insulate the Ceiling and Door

While you want the walls and floor to stay cool, the ceiling needs insulation to prevent condensation dripping onto your food. Use rigid foam insulation on the ceiling and the back of the door. The door should be well-sealed when closed but allow for easy access. A double-door entry or vestibule can help maintain temperature when entering and exiting.
6. Use Natural Materials for Walls

Concrete is commonly used for root cellar walls, but it can introduce unwanted moisture. Consider using stone, brick, or even packed earth if your soil type allows. These materials breathe better than concrete and help regulate humidity naturally. If you do use concrete, apply a sealant to reduce moisture seepage.
7. Plan for Darkness

Light can cause potatoes to sprout and other vegetables to spoil faster. Design your cellar to be as dark as possible. If you need lighting for access, use red bulbs which have less effect on produce. Install a switch outside the cellar so you don’t forget to turn off the light when you leave.
8. Build Strong Shelving

Your shelves need to hold a lot of weight. Use sturdy materials like cedar or redwood which resist rot. Space the shelves for air circulation, about 12 inches apart vertically. Make the lowest shelf at least 12 inches off the floor to protect from ground moisture. Slatted shelves allow for better air circulation than solid ones.
9. Monitor Temperature and Humidity

Install thermometers and hygrometers at various heights in your cellar. The ideal humidity for most produce is between 85-95%. The temperature should stay between 32-40°F for most items. Check these regularly and adjust your ventilation as needed. Some folks use a wireless monitor so they can check conditions without opening the door.
10. Create Separate Storage Areas
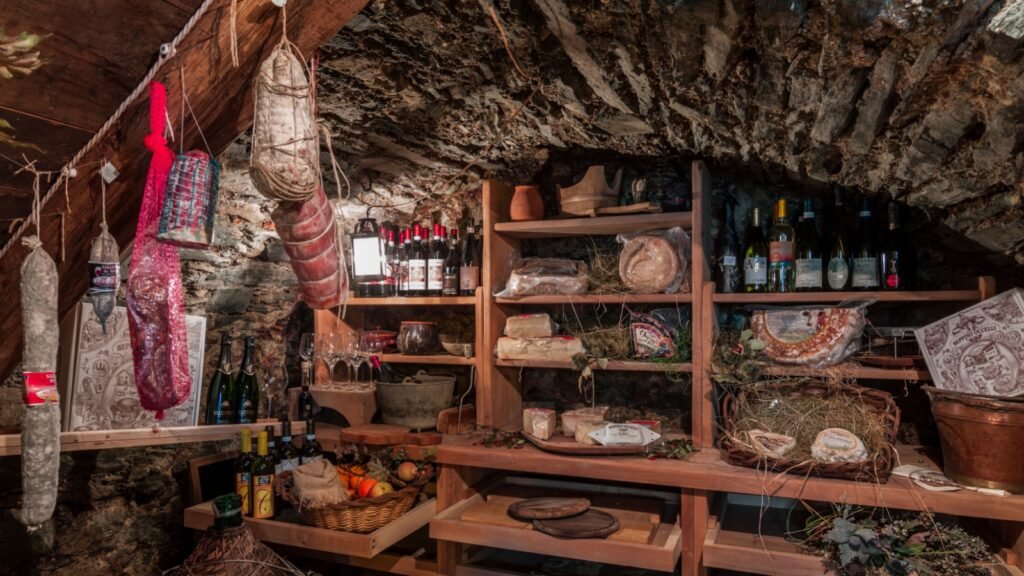
Different crops have different storage needs. Create separate areas for fruits, root vegetables, and leafy greens. Apples, for example, give off ethylene gas which can cause other produce to spoil faster. Use shelves, bins, or even hanging nets to keep items separated. This organization also makes it easier to check for and remove any spoiling items quickly.
11. Use Sand for Root Vegetable Storage
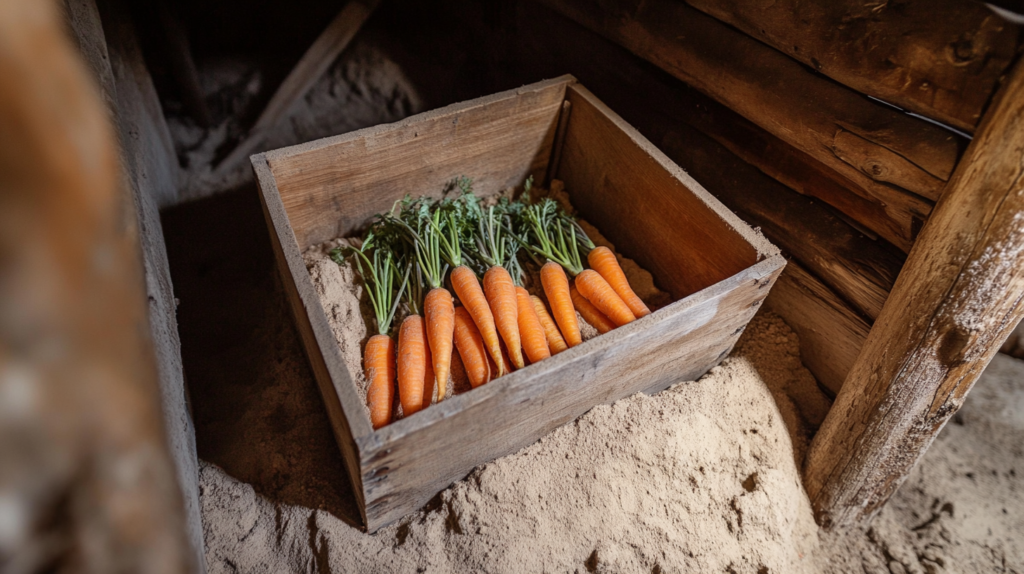
Carrots, beets, and other root vegetables store well in slightly damp sand. Fill wooden boxes with layers of sand and vegetables. This method helps maintain humidity around the vegetables and prevents them from touching, which can spread rot. Check the sand occasionally to ensure it’s not too wet or dry.
12. Hang Herbs for Drying

The cool, dark environment of a root cellar is perfect for drying herbs. Hang bunches from the ceiling or upper shelves. Make sure there’s enough air circulation around them to prevent mold. Once dried, store the herbs in airtight containers. This method works well for oregano, thyme, and many other herbs.
13. Use Straw for Insulation

For extra insulation in very cold climates, stack straw bales around the exterior of your cellar. This adds an extra layer of protection against freezing temperatures. Replace the straw each year as it will break down over time. As a bonus, the old straw makes great mulch for your garden.
14. Install a Rodent Barrier
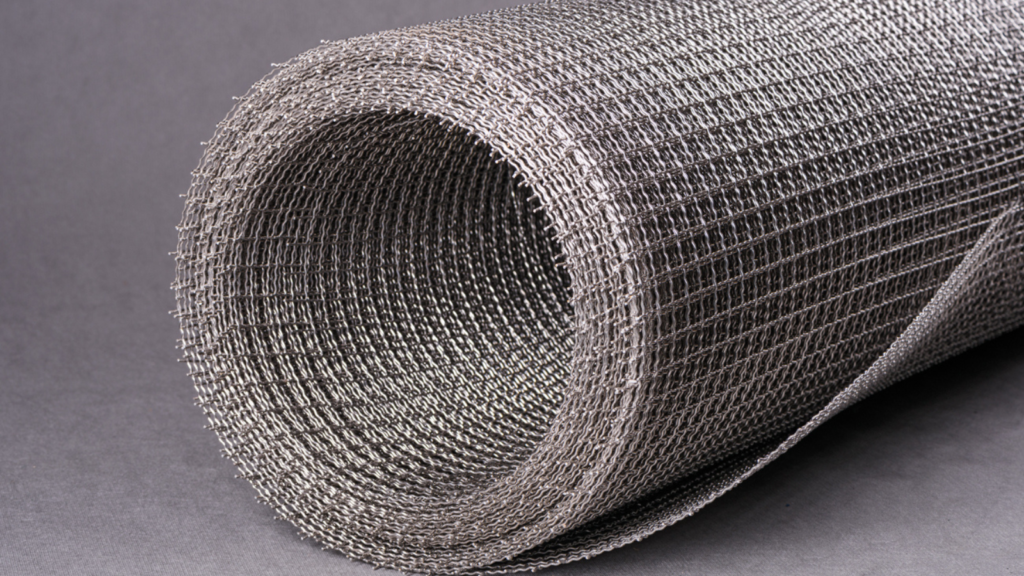
Mice and other rodents love root cellars. Install a barrier of hardware cloth (1/4 inch mesh) around the entire cellar, including under the floor if possible. Make sure all entry points, including vents, are securely screened. Regular checks for any signs of rodent activity are crucial. A cat patrolling outside the cellar can be a great deterrent too.
15. Plan for Water and Electricity

While not strictly necessary, having a water source and electricity in your root cellar can be very convenient. A small sink makes it easy to wash vegetables before bringing them into the house. A single electrical outlet allows for temporary lighting or running a dehumidifier if needed. Just be sure any electrical work is done to code and well-protected from moisture.