Soap making is an art and a science, and like any craft, it comes with its fair share of pitfalls. I’ve been making soap for years, and believe me, I’ve made every mistake in the book. But that’s how we learn, right? Through trial and error, I’ve figured out what works and what doesn’t. I’m here to share my hard-earned wisdom with you, so you can sidestep these common blunders and create beautiful, effective soap from the get-go.
1. Skipping the Research Phase

I can’t stress this enough: do your homework before you start. Many newbies jump in headfirst without understanding the basics of saponification or safety precautions. Spend at least a few hours reading up on the chemistry behind soap making, safety protocols, and different techniques. Trust me, this investment of time will pay off tenfold in the quality of your soap and your confidence as a maker. A great place to start is with reputable soap making forums and books by experienced artisans like Anne L. Watson or Susan Miller Cavitch.
2. Eyeballing Measurements

Precision is key in soap making. I learned this the hard way when my first batch turned out way too harsh because I guesstimated the lye amount. Always use a digital scale that measures to 0.1 grams. Even small measurement errors can lead to lye-heavy soap that’s harsh on skin or overly greasy soap that doesn’t clean well. Remember, a difference of just 5% in lye concentration can make or break your soap.
3. Forgetting to Use a Lye Calculator

Every oil has a different saponification value, which means it requires a specific amount of lye to turn into soap. I always use a lye calculator for every batch, even if I’m using a tried-and-true recipe. It’s a simple online tool that takes the guesswork out of determining the right lye-to-oil ratio. This step is crucial for creating balanced, skin-safe soap. My go-to is the SoapCalc, which also provides helpful information about the properties your soap will have based on the oils you choose.
4. Ignoring Safety Gear

Lye is no joke. It can cause severe burns and damage your eyes. I always suit up with goggles, gloves, and long sleeves before I start mixing. Even if you’re an experienced soap maker, accidents can happen. Better safe than sorry, especially when working with caustic materials. Keep a bottle of vinegar handy too – it can help neutralize lye spills in an emergency.
5. Using Fragrances Meant for Candles

Not all fragrances are created equal. I made this mistake early on and ended up with a batch that smelled great but caused skin irritation. Always use fragrances specifically designed for soap making. These are formulated to withstand the saponification process and are tested for skin safety. Check the usage rates too – they can vary widely between different fragrances. As a rule of thumb, most soap fragrances are used at about 0.5 to 1 ounce per pound of oils.
6. Overheating Your Oils

Temperature control is crucial in soap making. I’ve ruined batches by overheating my oils, which can lead to separation or even a soap volcano. Aim to heat your oils just until they’re fully melted, usually around 100-110°F (38-43°C). Use a reliable thermometer and resist the urge to crank up the heat to speed things along. If you’re working with solid oils like coconut or palm, melt these first before adding liquid oils to prevent overheating.
7. Failing to Prepare Molds Properly

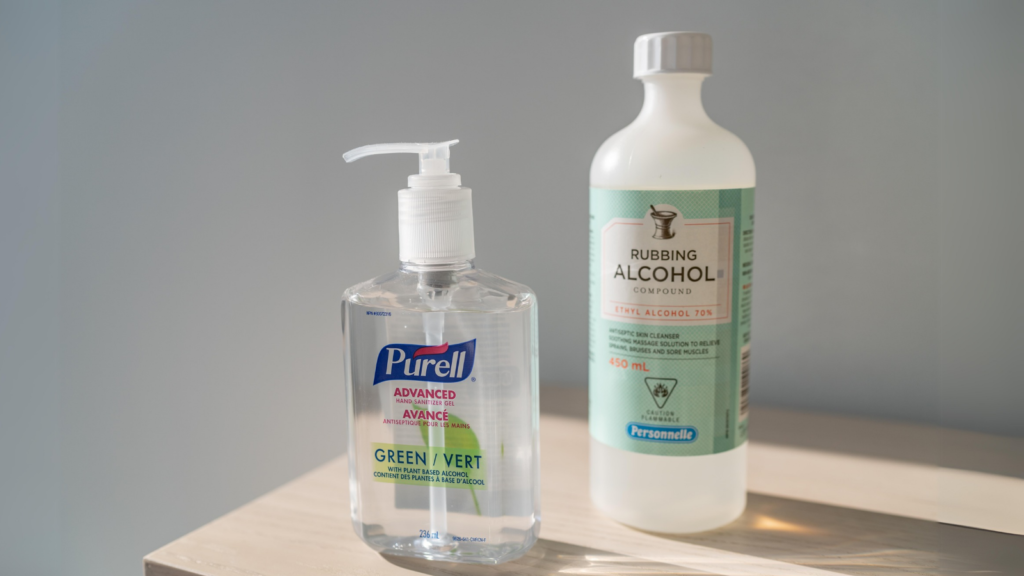
There’s nothing worse than making a perfect batch of soap, only to have it stick to the mold. I always line my wooden molds with freezer paper or use silicone molds for easy release. If you’re using milk cartons or PVC pipe, a light coating of mineral oil can work wonders. Proper mold preparation saves a lot of headache when it’s time to unmold. For intricate silicone molds, a light spritz of rubbing alcohol before pouring can help prevent air bubbles on the surface of your soap.
8. Mixing Lye and Water Incorrectly

Always add lye to water, never the other way around. I remember the rhyme “Snow falls on the lake” to keep it straight. Adding water to lye can cause a dangerous volcano effect. Also, use room temperature water to avoid excessive heat buildup. The lye solution can reach temperatures over 200°F (93°C), so caution is key. It’s a good idea to mix your lye solution in a well-ventilated area or outside to avoid inhaling the fumes.
9. Forgetting to Insulate Cold Process Soap

Cold process soap needs to go through gel phase for best results. I wrap my molds in old towels and put them in a warm spot for 24 hours after pouring. This insulation helps the soap heat up internally, which leads to brighter colors and a smoother texture. Skipping this step can result in partial gel, which looks like a darker circle in the middle of your soap. If you’re working in a cold environment, you might even want to use a heating pad on low to ensure full gel.
10. Using Impure Water

The quality of your water can affect your soap. I learned this when a batch developed orange spots due to high iron content in my well water. Now, I always use distilled water or rainwater for soap making. This eliminates variables that could interfere with your recipe or introduce unwanted elements into your soap. If you’re feeling adventurous, you can also experiment with other liquids like goat milk, beer, or tea – just be sure to adjust your lye concentration accordingly.
11. Rushing the Curing Process

Click Here
Patience is a virtue in soap making. I know it’s tempting to use your soap right away, but resist the urge. Cold process soap needs 4-6 weeks to fully cure. During this time, excess water evaporates, making the soap milder and longer-lasting. Hot process soap can be used sooner, but still benefits from a few weeks of curing. To test if your soap is fully cured, try the zap test: touch your tongue to the soap – if it zaps like a 9-volt battery, it needs more curing time.
12. Overlooking the Importance of Superfatting

Superfatting is adding extra oil that won’t react with the lye, leaving your soap moisturizing and gentle. I usually superfat at 5-7% for body soaps. Too little, and your soap may be drying. Too much, and it might be greasy and have a shorter shelf life. Finding the right balance is key to creating a soap that cleans well while being kind to your skin. Different oils contribute different properties to your superfat – for example, shea butter adds luxury while castor oil boosts lather.
13. Ignoring Trace Stages

Understanding trace is crucial for successful soap making. I’ve had batches seize up because I didn’t recognize when trace was accelerating. Light trace is like thin pudding, medium trace is like thick pudding, and heavy trace is like soft mashed potatoes. Knowing these stages helps you decide when to add fragrances, colors, or pour into molds. Some additives, like milk or honey, can accelerate trace dramatically, so it’s important to be prepared and work quickly when necessary.
14. Using Rancid or Old Oils

Quality in, quality out. I once used old olive oil and ended up with soap that developed dreaded orange spots (DOS) within weeks. Always use fresh, high-quality oils. If an oil smells off or has passed its expiration date, it’s not suitable for soap making. Rancid oils can lead to soap that goes bad quickly or doesn’t lather well. To extend the shelf life of your oils, store them in a cool, dark place and consider adding an antioxidant like rosemary oleoresin extract (ROE) to slow rancidity.
15. Failing to Keep Detailed Records

Every soap maker should keep a soap journal. I note down every recipe, including exact measurements, temperatures, fragrance amounts, and any special techniques used. I also record how the soap turned out and any adjustments I want to make next time. This practice has been invaluable in refining my recipes and avoiding repeated mistakes. Don’t forget to include details like the weather conditions and any unusual occurrences during the soap-making process – these can sometimes affect your results in surprising ways.

