When you’re heading out into the wild or preparing for unpredictable weather, waterproofing your gear can be a game-changer. There’s nothing quite like the peace of mind that comes with knowing your equipment, clothes, and tools are protected from moisture, rain, and unexpected spills. While you can buy waterproofed gear, many items benefit from a simple DIY touch to make them truly water-resistant. These techniques don’t require expensive gear or special tools—just a bit of time, care, and a few household items. Let’s explore 14 tried-and-true methods to help you keep your belongings dry and protected in any situation.
1. Use Wax to Seal Leather and Canvas
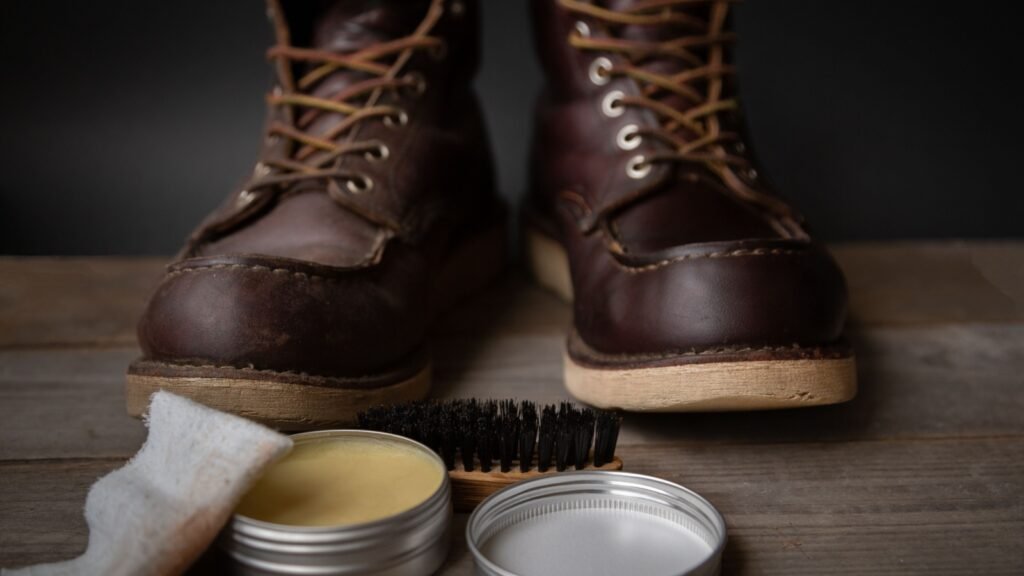
Rub a solid wax, like beeswax, onto leather or canvas surfaces to create a water-repellent layer. Focus on high-stress areas, such as seams and edges, where moisture can sneak in. After applying, use a hairdryer to warm the wax and help it bond with the material. This technique is excellent for boots, jackets, and backpacks.
2. Line Bags with Trash Bags

For a quick and affordable waterproofing solution, line the inside of your backpack or gear bag with a trash bag. Simply place the trash bag inside, load your items, and twist the top closed. This method protects from rain and splash zones, keeping essentials dry even in damp conditions.
3. Spray Silicone on Fabrics
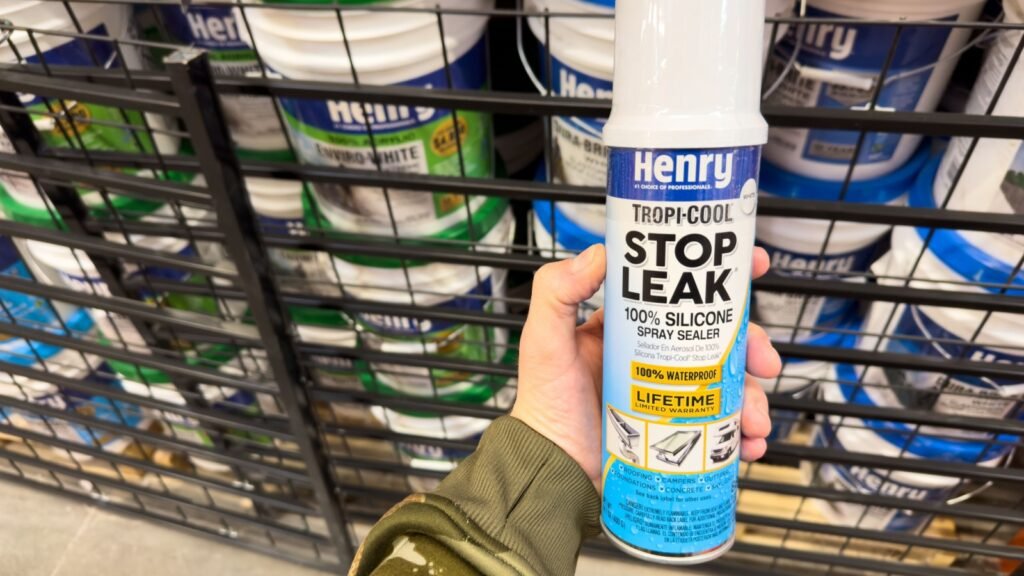
Silicone spray creates an invisible barrier that repels water. Spray it evenly over fabrics like jackets, tents, or backpacks, letting it dry completely before use. Be careful not to overspray, as too much silicone can leave a sticky residue. This is an excellent solution for both short-term and long-term waterproofing.
4. Wrap with Plastic Wrap

For electronics or small items, wrap them in plastic wrap before storing them in your bag. This barrier keeps out moisture in emergencies and is ideal for items like cameras, batteries, and phones. Just be sure to layer it securely around all sides to avoid any weak points.
5. Use a Waterproof Phone Pouch
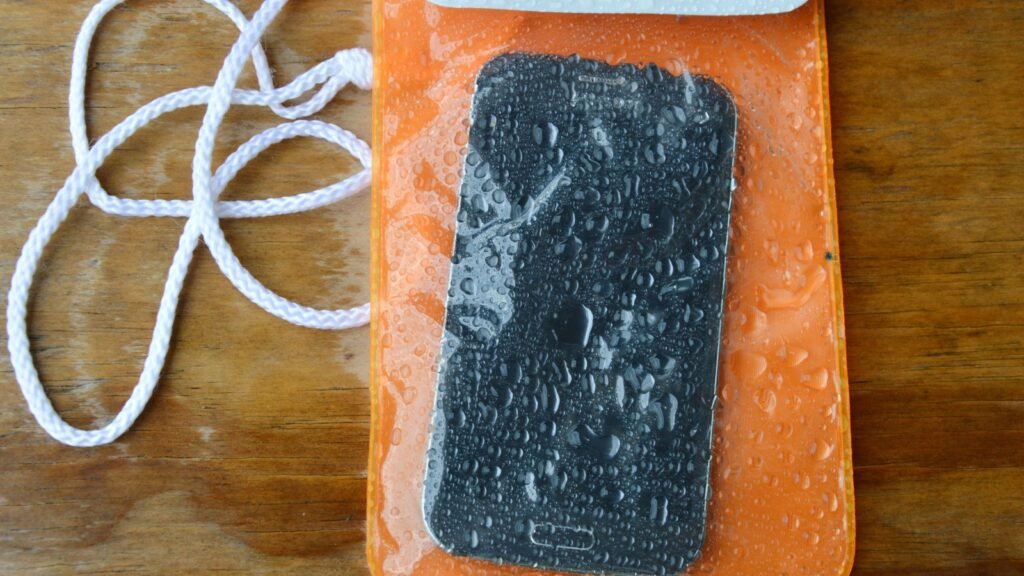
For high-tech devices, a waterproof phone pouch can be a lifesaver. These pouches are clear, touch-friendly, and allow you to operate your device while protecting it from water. They’re particularly handy for camping, hiking, or watersports, giving you peace of mind without bulky cases.
6. Seal Seams with Seam Sealer
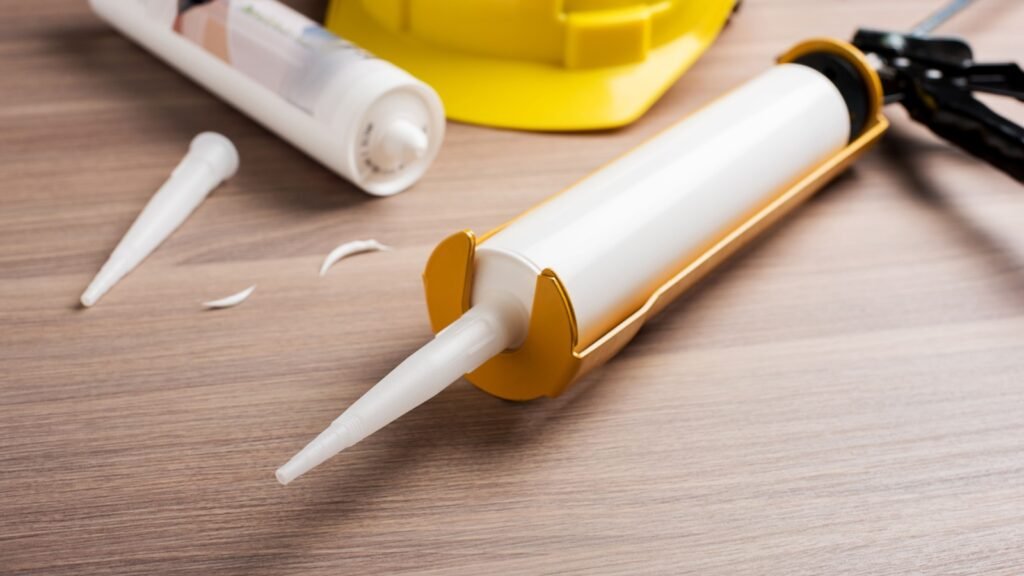
Seam sealer is a liquid solution that strengthens the seams of fabric, making them waterproof. Apply it along the seams of tents, tarps, or jackets, paying special attention to areas that face the most stress. Let it dry for maximum effectiveness, and reapply if you notice wear over time.
7. Use Ziplock Bags for Small Items
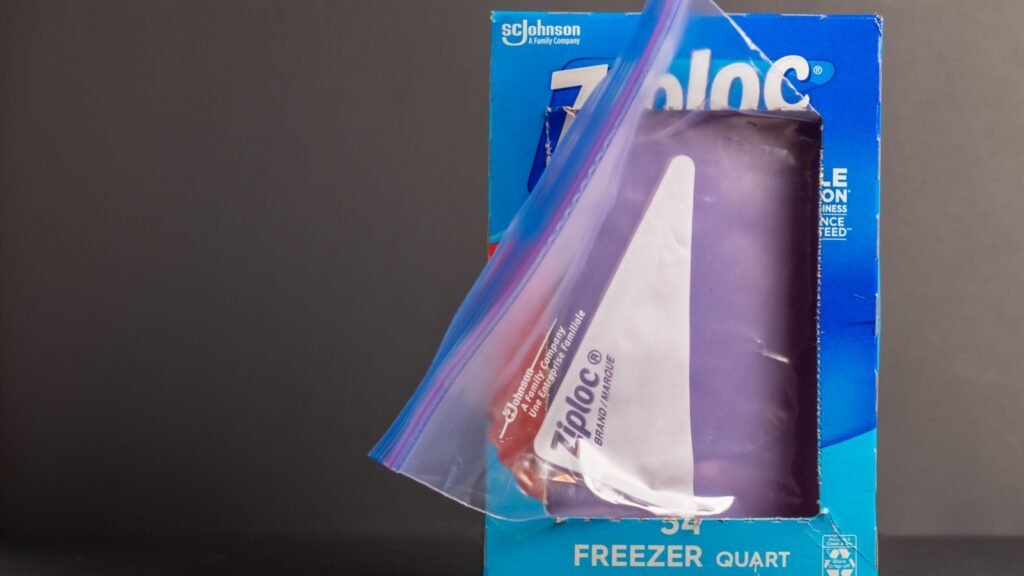
Ziplock bags are a quick and effective way to waterproof small items like maps, matches, or snacks. Simply place items in a bag, press the air out, and seal tightly. For added protection, double-bag if you’re venturing into very wet areas.
8. Apply Water-Repellent Spray to Shoes
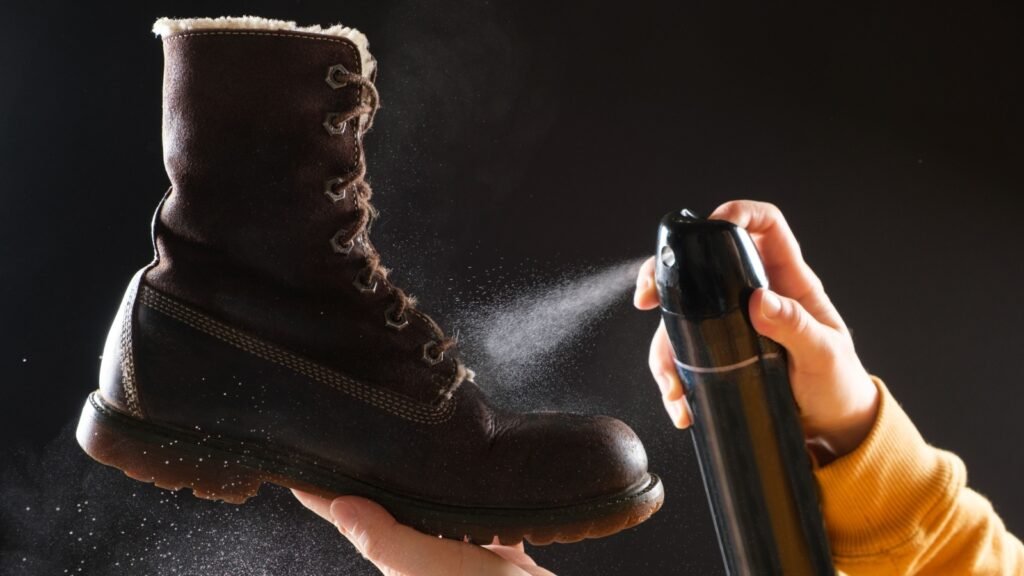
Water-repellent spray for fabrics also works wonders on shoes. Spray evenly over your shoes, paying extra attention to seams and areas prone to dampness. This treatment keeps your feet dry and is a great alternative to full waterproof boots for light hikes and wet conditions.
9. Coat Fabrics with Boiled Linseed Oil
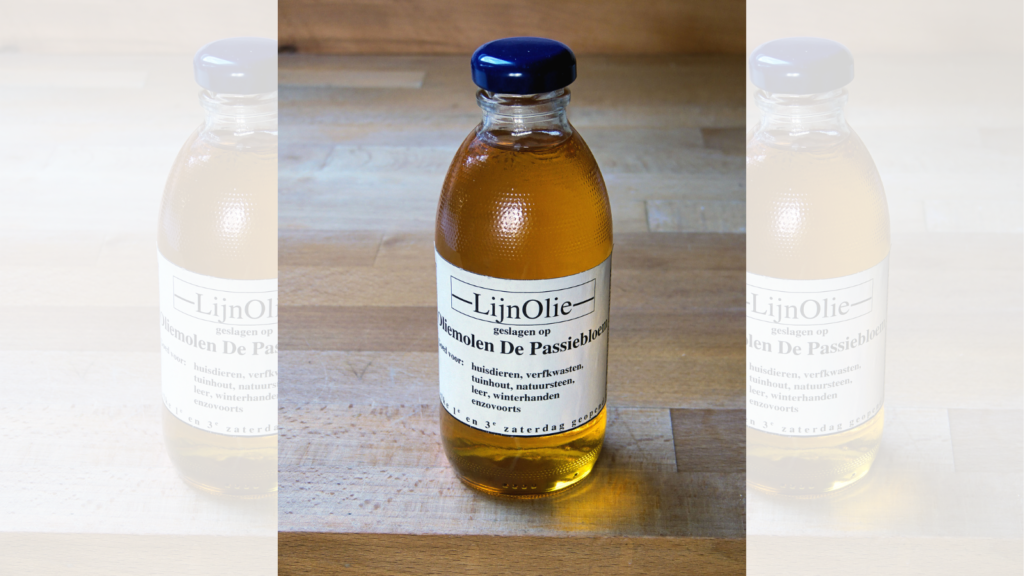
For a more natural solution, coat fabrics with boiled linseed oil. Brush the oil onto fabrics like canvas, allowing it to soak in before drying. Although it takes time to dry, linseed oil creates a flexible, waterproof layer on items like outdoor gear bags and camping tarps.
10. Make DIY Waterproof Matches
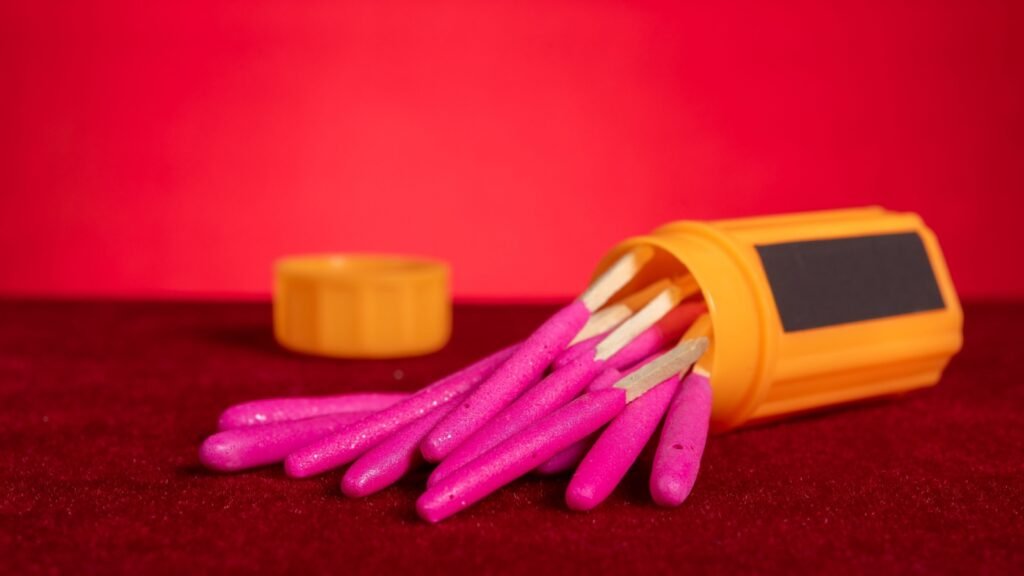
To make waterproof matches, dip the heads of regular matches in melted wax or nail polish. Let them dry fully before use. This technique is simple and can turn ordinary matches into lifesaving tools for wet weather camping or survival situations.
11. Use Duct Tape for Emergency Sealing
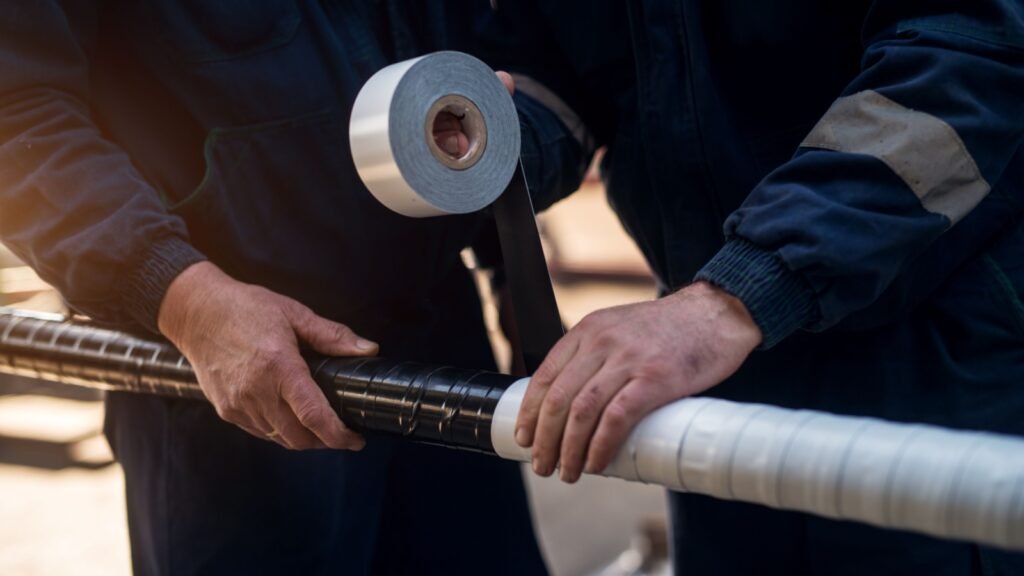
In a pinch, duct tape can create a water-resistant seal. Use it to cover holes or reinforce weak spots on gear like tents, backpacks, or rain jackets. This quick fix isn’t as durable as other methods but can work well as a temporary waterproofing solution.
12. Apply Petroleum Jelly to Metal Surfaces
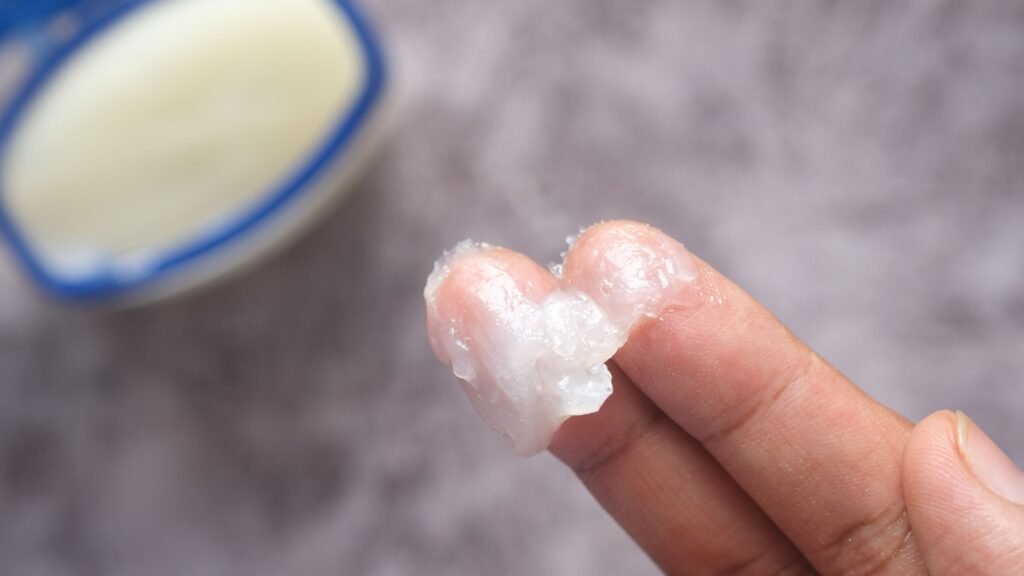
Applying petroleum jelly to metal surfaces on tools or gear creates a protective layer against water and rust. This method is especially useful for keeping fishing gear, knives, and camping tools rust-free in wet conditions.
13. Use Paracord with Waterproof Coating

Many paracords now come with waterproof coatings, but you can also apply a thin layer of silicone spray to protect them from moisture. Paracord is versatile in outdoor situations, and having it waterproofed adds an extra layer of reliability for setting up shelters or securing gear.
14. Create DIY Dry Bags
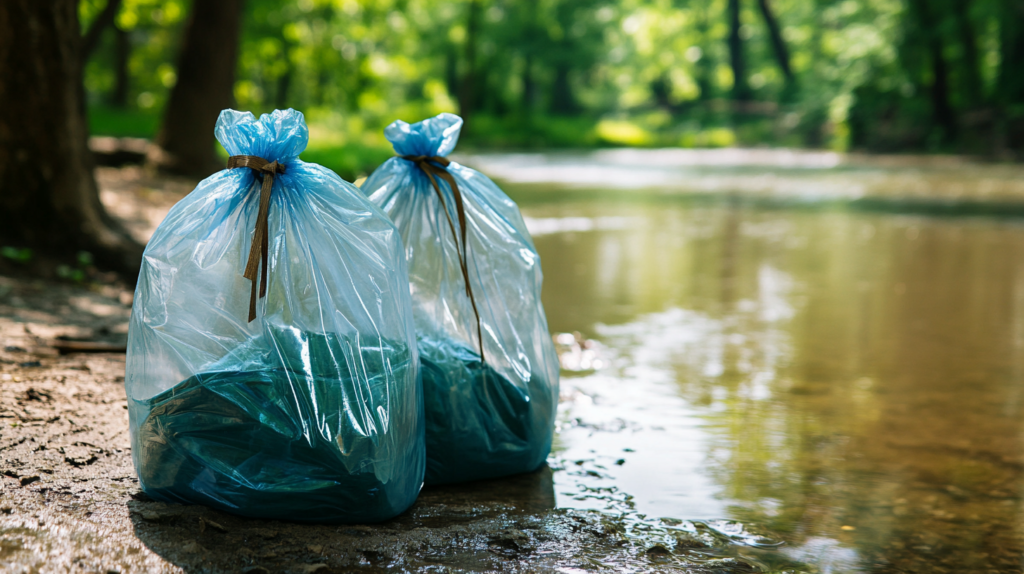
If you don’t have access to commercial dry bags, you can make your own by double-bagging with plastic bags and securing them with twist ties or rubber bands. For added protection, store items in a cotton pillowcase inside the plastic bags to absorb any remaining moisture.

